TORK: TOR GUI+ for BT4
BT4
Tor and tork Bins.
--Please note compiling from source will not work by default on Bt4 Pre.
And some other apps to test you traffic with.
I also HIGHLY recommend having a decent logging device directly upstream or a port span and capture of your outbound traffic. While the TORK GUI WILL show you most of your leaked traffic, I have spotted a few others on my firewalls logs.
TORK: TOR GUI+ for BT4
=================
This guide will likely work for any Linux you toss it at, but I've only tested it on BT4 pre full disk install.
To be honest, I'm not 100% certain each of these steps is absolutely required, if you're a more advanced Linux gangster and see something that's incorrect, or not required here Please let me know. This is how I was able to get it working on my machine.
If you wondering what Tork is, it's just a fancy GUI for TOR that will let you change your identity, launch anonymous apps including Firefox, email and terminal, View your circuit, and my personal favorite. The Traffic Log. It will also allow you to start various servers and hidden services, but I wont be touching on this.
The traffic log is *Very* nice and minimal, it's 2 columns, Tor'd and non-tor'd traffic. This makes monitoring your outbound traffic very easy, and can save time vs tcp dumps and checking a test remote systems logs.
Installing TORK
===========
Go ahead and take a look over this page FIRST. (Seriously, I ripped a lot of info.)
http://forums.remote-exploit.org/bt4beta-howtos/22979-configuring-tor-ba...
Add the repos listed on the link above.
deb http://mirror.noreply.org/pub/tor intrepid main
deb-src http://mirror.noreply.org/pub/tor intrepid main
Install the Key and add it to the keyring (just like the guide said.)
gpg --keyserver subkeys.pgp.net --recv 94C09C7F
gpg --export 94C09C7F | sudo apt-key add -
Generate the ssl cert, if you run into errors with the next step with an already created cert, try this.
(The error reported will be for server.crt)
cd /etc/ssh/certs ( you may need to create the dir)
make-ssl-cert generate-default-snakeoil --force-overwrite
Update via apt or Synaptic, then install Tork. (Should be around 144mb)
apt-get update
apt-get install tor tork
Configure TORK
===========
You can run Tork from the Command line (spawns x process) or via k-menu > Internet > Tork.
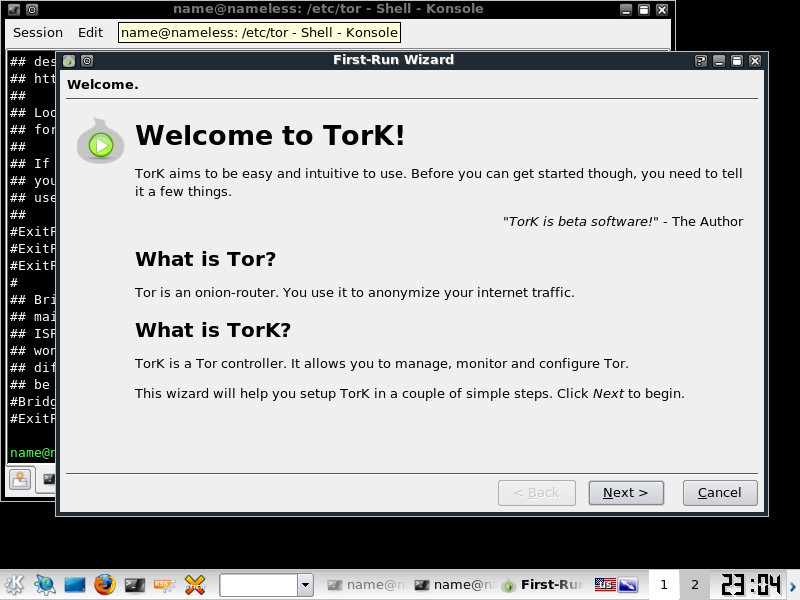
The initial Screen you hit will look like this
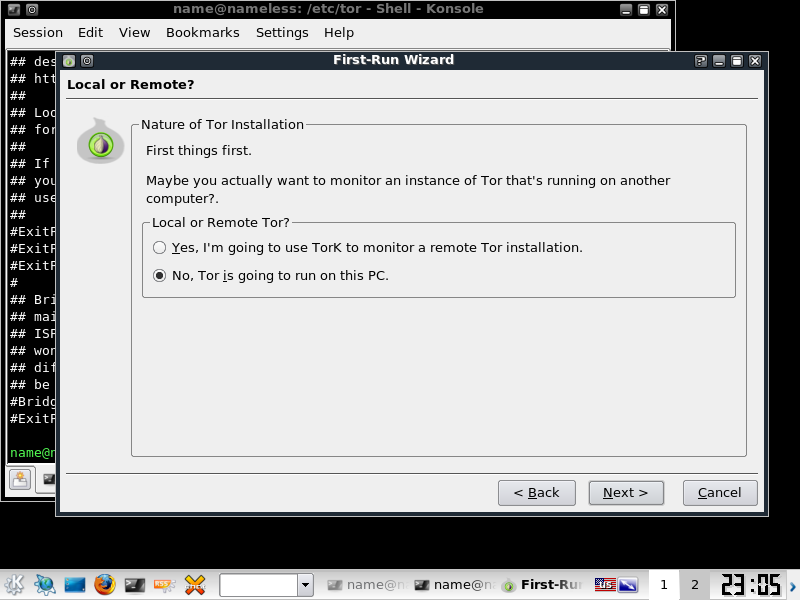
Select Next, and enable TORK for your local Machine. Next.
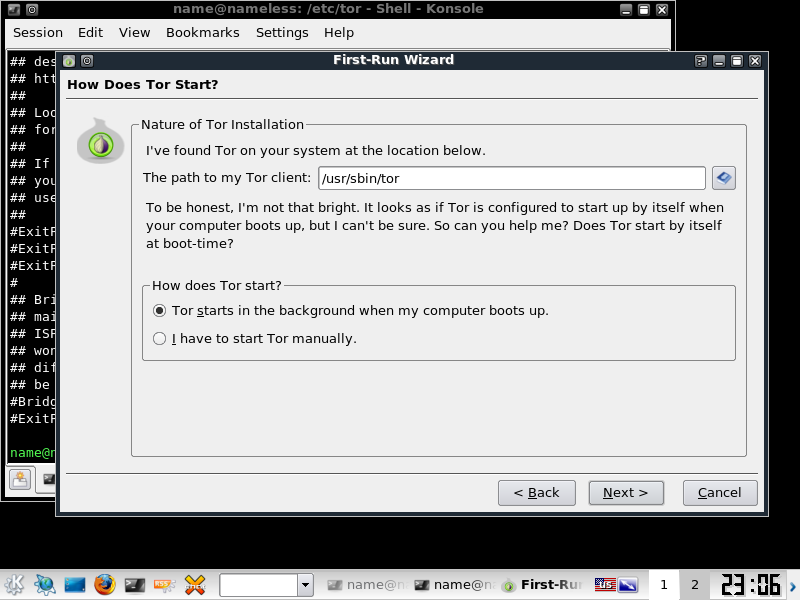
Next
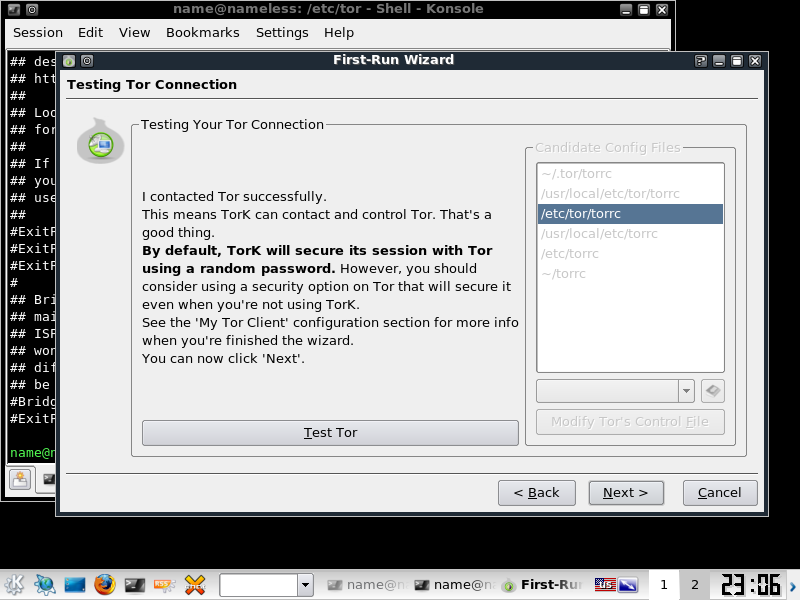
On this screen you will need to select the location of your TOR file, then click "Modify Tor's control file", then test it, if all goes well you will see the below screen
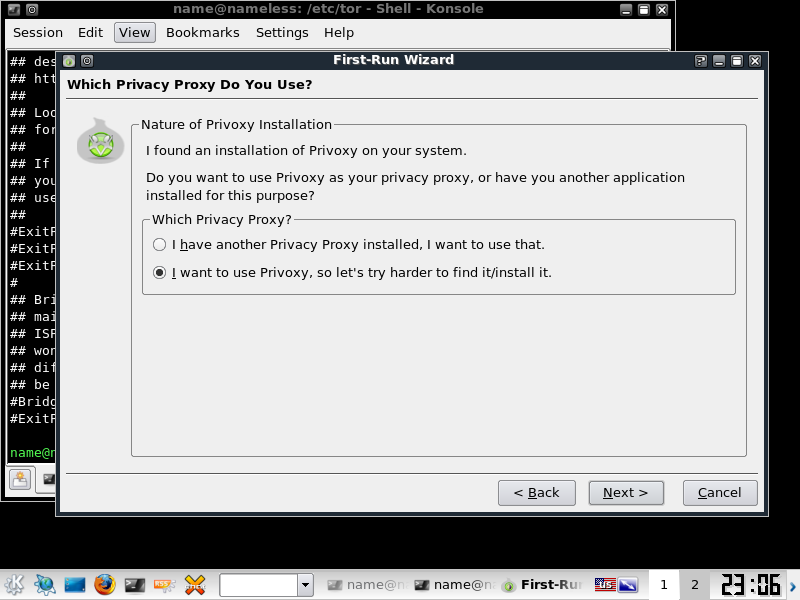
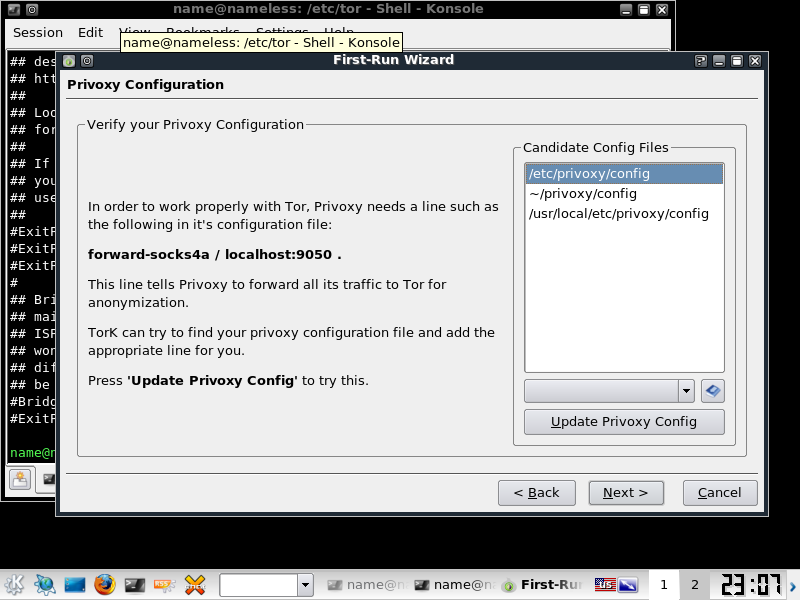
Next you will get to the Priviproxy settings, next,
select /etc/priviproxy/config then "update priviproxy Config"
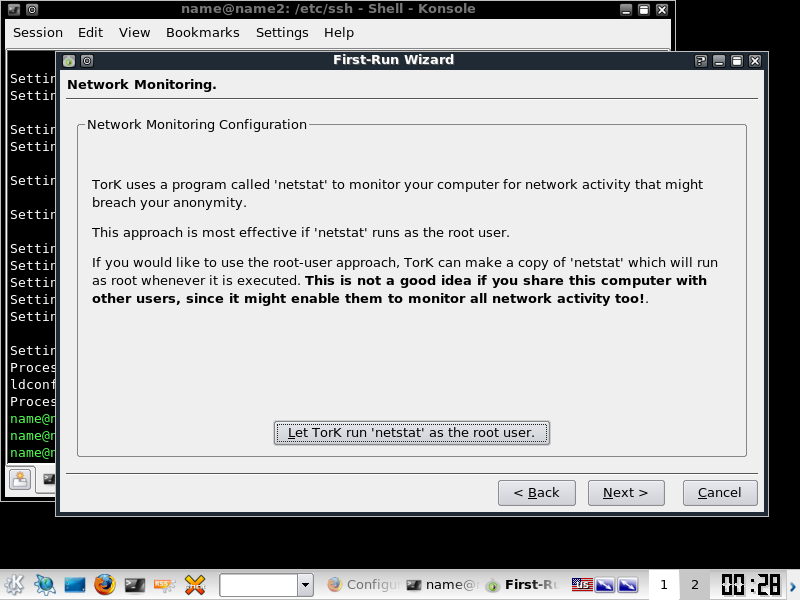
Continue through the pages until you get to the below netstat page, I highly recommend running this as root.
At this point, Tor as well as Tork should be installed and configured.
Using Tork
=======
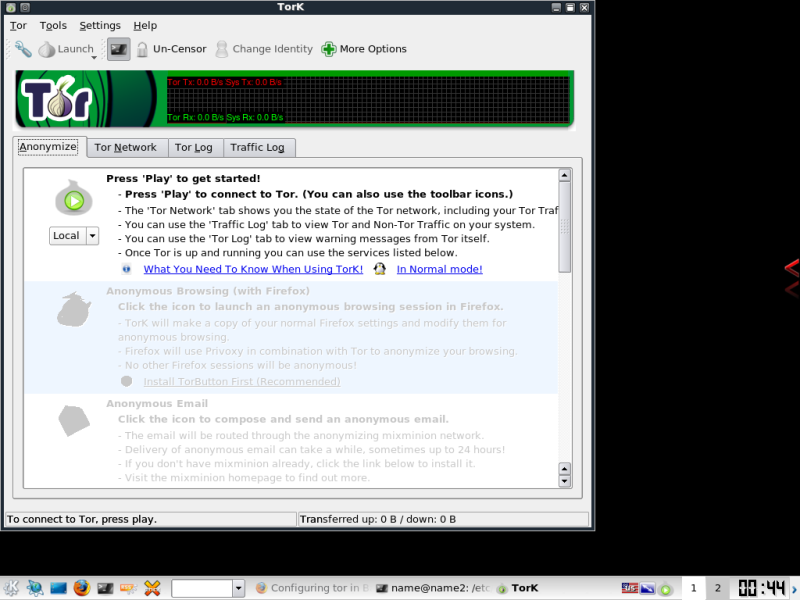
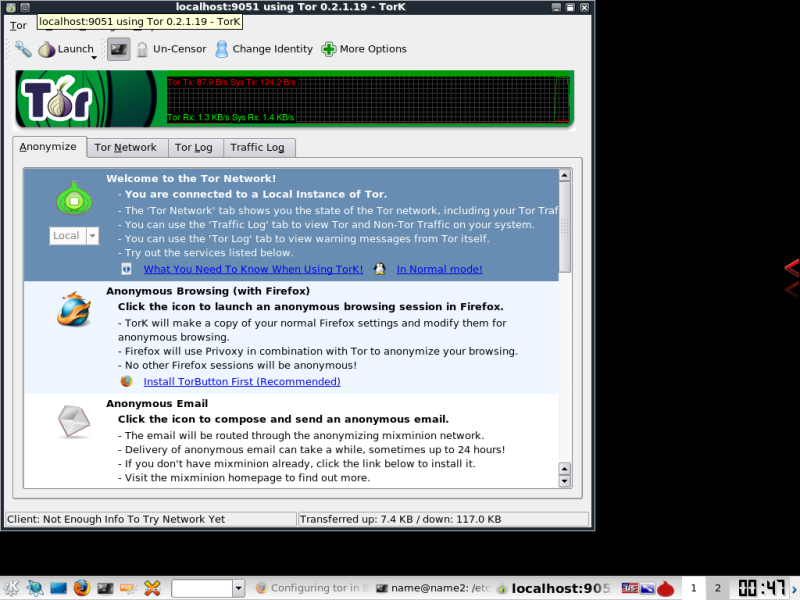
If you have followed the instructions to this point, or have just opened Tork, this is the first screen you will be greeted with.
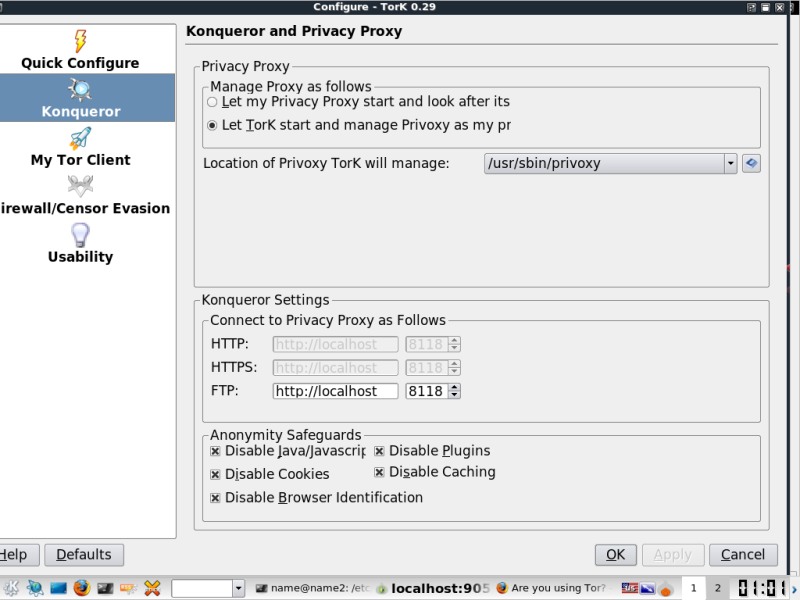
One change I had to make before everything started working was to browse to settings> configure tork >konqueror select "let Tork Start and manage Privoxy
Click the play button on the Onion (note the drop down below it that you can select various modes for tor) Once Connected you should see some traffic on the traffic bar.
At this point, you are connected to the Tor Network, you can verify this from the Traffic Log tab.
From the main page you can do spawn various anonymous tasks.
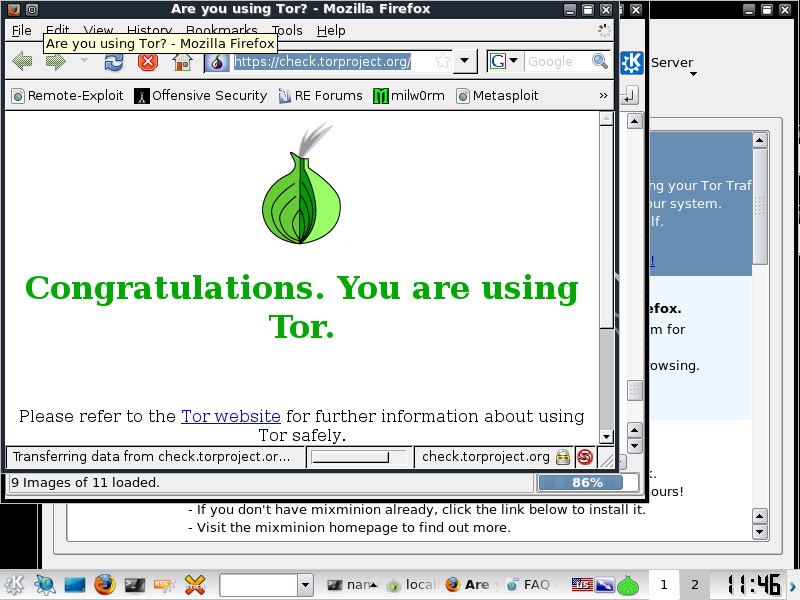
Fire up Firefox from the Firefox button.
Should be greeted with this screen
From here, browse around briefly to check connection speed, then move on. If the connection doesn't fit your liking, select "New Identity" at the top of the window, wait for a new circuits to build and test again.
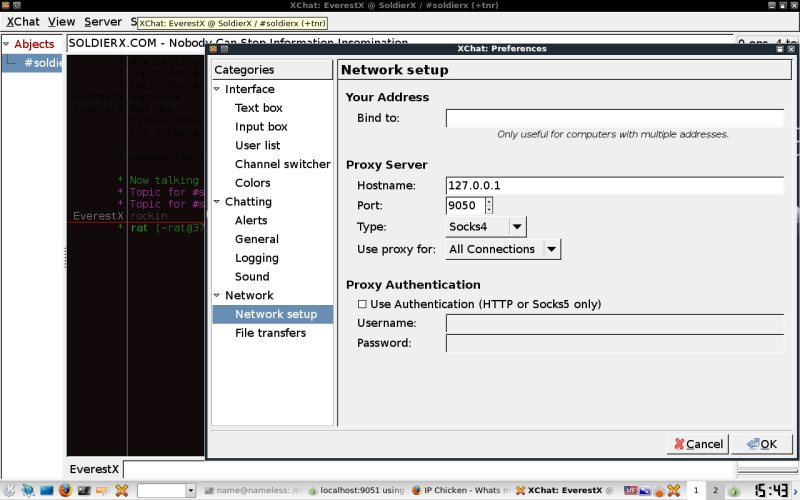
Getting to SX IRC with Xchat and TORK already configured.
=========================================
Settings-> Preferences -> Network -> Network setup -> Proxy server
Additional note and other application uses:
==============================
Now that you have Tork, Tor, and Priviproxy installed you can also make use of proxychains or tsocks in the command line quick and easily enabling or disabling your use of the tor network.
The usage is tsocks or proxychains .
Setting Up various other apps
Tor port 9051
priviproxy port 9050
***You should also make a lot of use of the Traffic Log.***
proxychains nmap -sT -v -O (Use the IP, rather than host name, or you'll leak DNS!)
-a will cause seg faults.. haven't figured that out just yet.
proxychains krdc (this works for VNC and RDP -- SUPER SLOW)
I'd like to point out that most of Fast-track remote attackes work well also. You will need to run a test scan you verify, but in my testing I have only found port 111 traffic leaked, a quick iptables rule will take care of that. I'll be upping a short guide on FT shortly.
proxychains ./fast-track.py (mode)
Proxychains also works relatively well with Metasploit framework, you can see my brief write up on its uses with db_autopwn on the site.
-- I have confirmed this also leaks 111 attacks (Most likely the same specific exploit that fast track uses)
proxychains ./msfconsole
=============================================================
Links Worth your time! These Links helped me compile this tutorial for SX, Creds to the Original Authors.
http://pauldotcom.com/2009/08/scanning-through-a-tor-network.html
(^ Worth the picture alone, and much more lightweight solution for most traffic)
This explains the server.crt error and fix.
http://forums.remote-exploit.org/backtrack-4-bugs-fixes/27219-error-post...
More good info on individual apps over tor
http://www.hermann-uwe.de/blog/howto-anonymous-communication-with-tor-so...
The interwebs and included links.

